
Transform Your Rental Kitchen for Less Than $50
Creating a luxury kitchen look on a budget rental doesn’t require a complete renovation or breaking your lease agreement. With just $50 and some strategic peel and stick tiles, you can achieve a stunning apartment kitchen makeover no damage that rivals high-end designs. The secret lies in choosing the right tiles and applying them strategically to maximize visual impact.
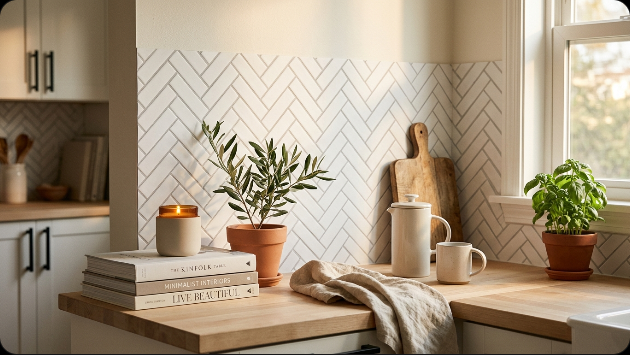
Start by focusing on high-impact areas like your backsplash, which offers the biggest visual transformation for your investment. Quality rental friendly kitchen backsplash ideas using peel and stick tiles can instantly elevate your space from basic to boutique-worthy.
Strategic Placement for Maximum Impact
The key to any successful rental kitchen makeover peel and stick tiles project is strategic placement. Focus on areas that catch the eye immediately:
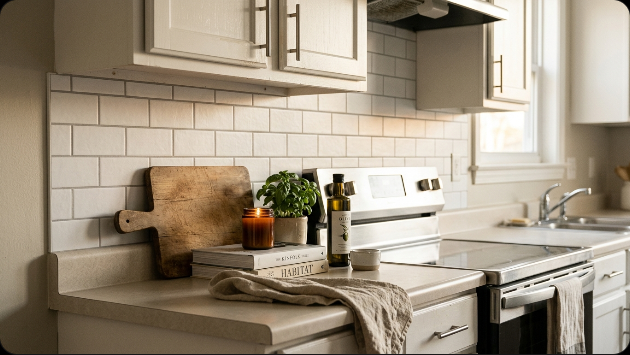
Behind the stove and sink: These are natural focal points that benefit most from upgraded materials. Choose tiles that mimic expensive materials like marble, subway tile, or natural stone.
Inside open shelving: Line the backs of open shelves with coordinating tiles to create depth and visual interest. This unexpected detail screams custom design.
Accent walls: If you have a small kitchen, consider creating an accent wall with your remaining tiles. This draws attention upward and makes the space feel larger.
Countertop edges: Some renters carefully apply thin strips of tile along counter edges for a finished, custom look that’s easily removable.
Choosing Tiles That Look Expensive
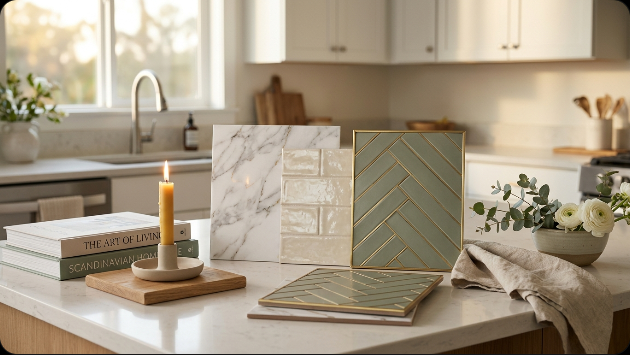
Not all peel and stick tiles are created equal. For budget kitchen upgrade ideas for renters that deliver luxury results, invest in tiles with these characteristics:
Realistic textures: Look for tiles with raised textures that mimic real materials. Embossed patterns and dimensional elements create authentic shadows and depth.
Larger formats: Choose larger tiles (12″x12″ or subway-style) rather than small mosaic patterns. Larger tiles create cleaner lines and appear more high-end.
Neutral, classic patterns: Stick with timeless designs like white subway, marble veining, or natural stone patterns. These styles photograph well and have lasting appeal.
Quality adhesive: Invest in tiles with strong, repositionable adhesive that won’t damage walls but will stay put long-term.
Installation Tips for Professional Results

Achieving peel and stick tile kitchen transformation success requires proper installation technique. Start with thoroughly cleaned surfaces and plan your layout before removing any backing.
Use a level and measuring tape to ensure straight lines. Begin installation from your most visible corner, working outward. Press firmly and use a wallpaper smoother to eliminate air bubbles.
For peel and stick tiles before and after photos that wow, pay attention to corners and edges. Carefully trim tiles with a sharp utility knife for clean, professional-looking seams.
The beauty of this how to make rental kitchen look expensive approach is its reversibility. When you move, simply remove the tiles, and your deposit stays intact. With strategic placement, quality tile selection, and careful installation, your $50 investment will deliver a transformation that looks like it cost thousands – proving that luxury design is accessible to every renter willing to think creatively.